Better Prep · Practical guide
What a Kitchen Thermometer Can Tell You—and What It Cannot
In this guide Jump to a section
- A reading and the question it leaves open
- Identify the measurement you want
- Find where the sensor actually measures
- Look for the relevant part of the food
- Let the reading belong to its moment
- Separate measurement from the safety decision
- Care for the measuring tool
- Record a useful comparison
- Keep the question as specific as the answer
- Keep a reading understandable to someone else
A kitchen thermometer tells you the temperature its sensing system measures at a particular place and time. It does not automatically tell you the temperature of every part of a dish, whether the food has been handled properly, or whether a recipe suits your taste.
You get more useful information by matching the thermometer to the job and placing its sensor deliberately. Start with the exact device’s instructions, then use an appropriate food-safety reference for the decision you need to make.
A reading and the question it leaves open
| What you measured | Useful information | Still unresolved |
|---|---|---|
| Intended internal sensing location | Temperature there at that moment | Every other location in the dish |
| A second food location | Whether this check differs from the first | The food’s earlier storage history |
| A manufacturer-supported instrument check | How the device behaves in that check | A universal food-safety rule |
Identify the measurement you want
Ask what you are trying to learn before reaching for the tool. The internal temperature of a piece of food, the temperature of a cooking environment, and a surface reading are different measurement jobs.
Check that the thermometer is intended for that job and within its specified range. Do not substitute one type for another because its display gives a plausible-looking number.
Read whether the device is designed for a quick check, continuous monitoring, or another specific method. An instant-read tool should not be assumed to be safe to leave in an oven unless the maker explicitly permits that use.
Keep the exact model’s response, insertion, and handling instructions nearby until they are familiar. A useful number depends on how the device is used, not just on the number of digits it can show.

Find where the sensor actually measures
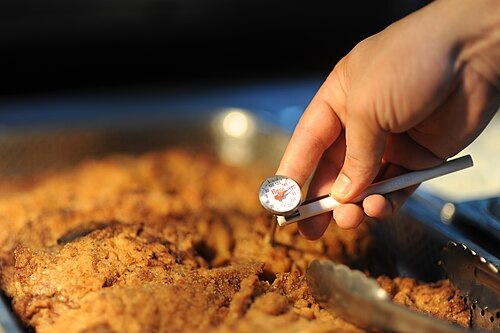
The visible probe length is not automatically the sensing area. Look in the manufacturer’s instructions for the sensor location and the minimum insertion requirement before you use the tool on a thin piece of food.
ThermoWorks explains that the Thermapen’s sensor is at the probe tip and gives a shallow model-specific minimum insertion. That example should not be transferred to a different thermometer whose sensing area or insertion requirement is longer.
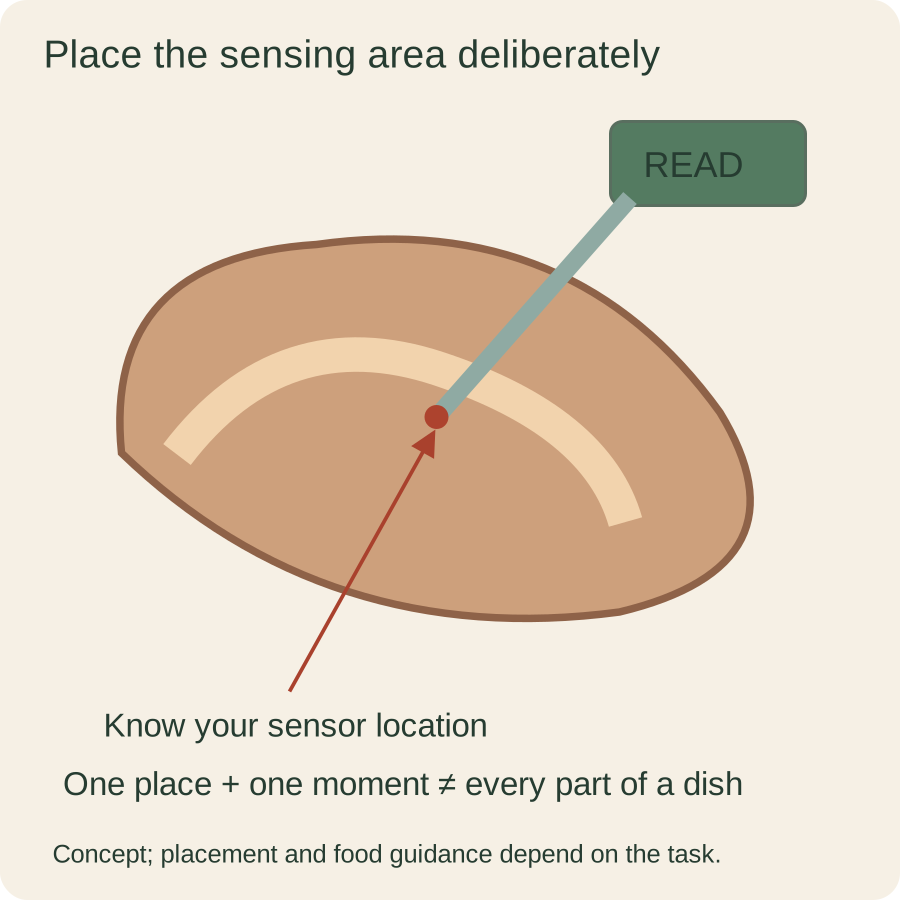
Picture the sensor inside the food rather than judging placement only by the handle outside it. A probe passing through a piece can leave its important sensing area in the wrong place even though it appears well inserted.
If you cannot place the sensor in the intended part through a supported method, choose an appropriate tool or seek model-specific guidance. Do not turn an unsuitable placement into a confident reading by pressing the probe farther without understanding its path.
Look for the relevant part of the food
For its Thermapen guidance, ThermoWorks discusses checking the center of the thickest portion and taking readings in more than one location on larger foods. It also notes that different parts of a piece of food can be at different temperatures.
Use the placement method appropriate to your thermometer and food, including the maker’s instructions about avoiding bone or other misleading contact. A reading from one convenient edge may not answer the question you intended to ask.
For a thin food, check whether a side approach lets you position the sensor properly within the supported method. Do not assume that a top-down insertion gives enough food around the sensing area on every thickness.
Keep your hands and the tool clear of hot surfaces as the instructions require. Getting the sensor into the right place should not depend on an awkward reach over a crowded pan.
Let the reading belong to its moment
Read the display according to the device’s operating instructions. A thermometer can need time to respond, and the correct way to interpret a changing display depends on the tool’s design and the measurement you are taking.
Note where and when you measured if you are comparing readings during a cooking task. “Center of the thickest piece after the instructed check” is clearer than an isolated temperature written without context.
Do not assume a reading stays true after you move the food, continue cooking it, or wait before checking again. The measurement belongs to the conditions at the sensing area when you took it.
If a number seems surprising, review placement and the supported method before explaining it away. Rechecking deliberately can be more useful than choosing whichever of several readings best matches your expectation.
Separate measurement from the safety decision
Use a current authoritative food-safety source appropriate to the food and handling situation when deciding what temperature or process is required. The thermometer manufacturer explains the tool; the food’s safe preparation requirements answer a different question.
Do not use a low or high number as a substitute for the rest of safe handling. A measurement does not reconstruct how an ingredient was stored, whether it was contaminated, or what happened before it reached the pan.
This guide does not provide a universal doneness temperature because the relevant requirements depend on the actual food and process. Look up the precise US food-safety guidance for what you are preparing rather than copying a number from a different dish.
Keep recipe preferences separate from safety requirements too. A texture you enjoy is not evidence that you can disregard the applicable preparation guidance.
Care for the measuring tool
Clean and store the thermometer according to its own instructions and the food-handling guidance for the task. Do not put an electrical display or probe connection into water beyond the device’s permitted exposure.
Read the manufacturer’s accuracy-checking or calibration procedure, if one is provided. A household check you saw for another device should not automatically become the procedure for yours.
If the tool is damaged, gives inconsistent results under its supported conditions, or fails its specified check, follow the manufacturer’s support advice. Do not make an uncertain device feel dependable by recording more decimal places.
Keep protective covers, cables, and probes with the correct instrument. A replacement probe that physically plugs in still needs the maker’s compatibility approval before you rely on its measurement.
Record a useful comparison
For a learning note, write the food, the device model, the sensor position, and the point in the cooking process. Add the reading without converting a single observation into a performance claim about the appliance or recipe.
If you compare several locations, label each one rather than averaging away a meaningful difference. You want to understand which part the measurement describes, especially when the relevant guidance calls for a particular location.
Use the note to improve your placement and workflow on the next supported task. It can show that reaching the center was awkward or that a different probe shape would suit your setup without proving that one brand always cooks better.
Avoid building an informal safety rule from a few personal observations. An ordinary kitchen record helps you use the tool thoughtfully; it does not replace the authoritative guidance for the food.
Keep the question as specific as the answer
Before your next check, say the question plainly: what is the temperature at this intended sensing location right now? Then place the correct tool through its supported method and interpret the reading with the appropriate reference.
That habit keeps a useful device from becoming a source of false certainty. The thermometer supplies a measurement, and you supply the documented placement, relevant food guidance, and context needed to make the measurement meaningful.
If a task still leaves you unsure, ask the manufacturer about the tool and consult an authoritative food-safety resource about the food. Keeping those questions distinct makes each answer easier to apply correctly.
Keep a reading understandable to someone else
If someone else takes over the cooking task, explain where the last measurement came from and which documented requirement you are checking. A temperature without its location or context can sound more conclusive than the observation supports.
Let the next person make the appropriate check using the same supported method and relevant food guidance. Sharing a clear question and the actual tool instructions is more useful than handing over a single number and assuming that the rest of the food has been verified.
Sources & research notes
Documentation checked October 22, 2026. Practical examples are original planning exercises; product recommendations compare documented features.