Better Prep · Practical guide
How to Choose Between a Knife, Mandoline, and Food Processor
In this guide Jump to a section
- Define the result before choosing the tool
- Use a knife for flexible decisions
- Understand what the mandoline asks of you
- Plan for the slices after they fall
- Read the food processor’s permitted job
- Count the washing pieces honestly
- Compare three ordinary tasks
- Make the next use easier
- Choose the supported stop point
Choose a knife, mandoline, or food processor by looking at the cut you want, the amount of food, and the setup you can use safely. Compare the whole job, including preparation and washing, rather than only how quickly a tool appears to make one slice.
You may prefer a different tool for a small onion, a tray of evenly sliced vegetables, and a large batch of grated ingredients. No single machine needs to win every task for your kitchen to work well.
Define the result before choosing the tool
Describe the finished pieces in ordinary terms: rough chunks for soup, thin repeated slices, or a fine grate. Include whether variation in size matters to the recipe or whether an approximate cut is entirely suitable.
Estimate the actual amount you need today. A tool that involves several removable pieces may make sense for a large batch while adding unnecessary setup to a small task you can comfortably complete another way.
Check the recipe’s preparation wording before cutting. Measuring an ingredient before slicing can differ from measuring the finished slices, so tool choice should not quietly change the quantity the recipe asks for.
Keep your own comfort and experience in the comparison. The most useful option is one you can operate through its intended method, with the space and attention the task requires.


Use a knife for flexible decisions
A suitable knife lets you change the shape or size of the cut as you work. That flexibility can be useful for trimming irregular produce or preparing several different cuts in a modest quantity.
Choose a stable, appropriate cutting surface and use safe knife handling suited to the task. Do not treat a narrow countertop gap or an unstable board as adequate simply because the food quantity is small.
Consider whether the ingredient needs a different knife or preparation step rather than more force. Follow the tool’s intended use, and seek appropriate instruction if you are unfamiliar with handling the ingredient safely.
A knife can be a sensible choice when you want control over individual pieces. That is a practical reason to choose it, not a claim that manual cutting always produces a better result than a machine.
Understand what the mandoline asks of you
A mandoline is designed around repeated movement past a blade, usually with an adjustable or selected slicing arrangement. Read the exact model’s instructions before deciding whether that routine suits your ingredient and confidence.
The OXO mandoline instructions emphasize using its food holder and warn that its blades are very sharp. Keep the specified guard or holder in the task rather than treating it as an optional accessory you can omit near the end.
Check the supported food size and preparation requirements, including how to position the ingredient in its holder. If the remaining piece cannot be handled through the prescribed method, stop rather than improvising a bare-handed final pass.
Make sure the tool’s feet, supports, or mounting arrangement are used as directed. A mandoline balanced at an awkward angle over a crowded sink is a different setup from the stable one shown in its instructions.
Plan for the slices after they fall
Choose a suitable receiving space before you start a repeated slicing task. The finished pieces should not spill into the area supporting the tool or hide the parts you need to handle safely.
Check whether a bowl, board, or container is compatible with the tool’s intended setup. Do not assume that a tool can straddle any vessel merely because it appears to reach across the opening.
Keep the unused ingredient and completed slices in separate positions. That makes it easier to see what remains to be cut and prevents you from reaching through the operating area to collect food.
For a recipe needing only a few slices, compare the complete setup with the work itself. You may still choose the mandoline, but make that choice with its cleaning and storage steps included.
Read the food processor’s permitted job
Match the food to the exact blade, disc, bowl, and instructions for your processor. A chopping blade and a slicing disc create different results, and a supplied accessory is not approval for every ingredient.
Check the manufacturer’s loading amounts and preparation rules. Large pieces may need to be prepared to fit the feed system, while an overfilled bowl can make a proposed task unsuitable for the setup you chose.
Use the prescribed feed pusher and safeguards, keeping hands away from moving or sharp parts. Never bypass a locking mechanism or push ingredients with an improvised object because the supported tool is inconvenient.
Picture how you will stop, disconnect, and unload the appliance as instructed. Choosing a processor includes handling its sharp removable components after the motor has stopped, not just pressing a button during preparation.
Count the washing pieces honestly
Lay out the parts your chosen task will use before starting. A processor may involve a bowl, lid, pusher, disc, and related pieces, while a mandoline may have a holder and removable blades with different care rules.
Check cleaning permission for each piece and the safe method for handling sharp components. The OXO instructions distinguish cleaning methods for its blades and body, so do not apply one dishwasher rule to the whole assembly.
Think about your sink and drying space as part of the tool’s practical footprint. A tool that fits a drawer may still create a temporary cleanup problem when several sharp parts are waiting to be washed.
Do not leave loose blades hidden in cloudy water or mixed with ordinary utensils. Follow the manufacturer’s handling and storage method so another person does not discover a sharp component unexpectedly during cleanup.
Compare three ordinary tasks
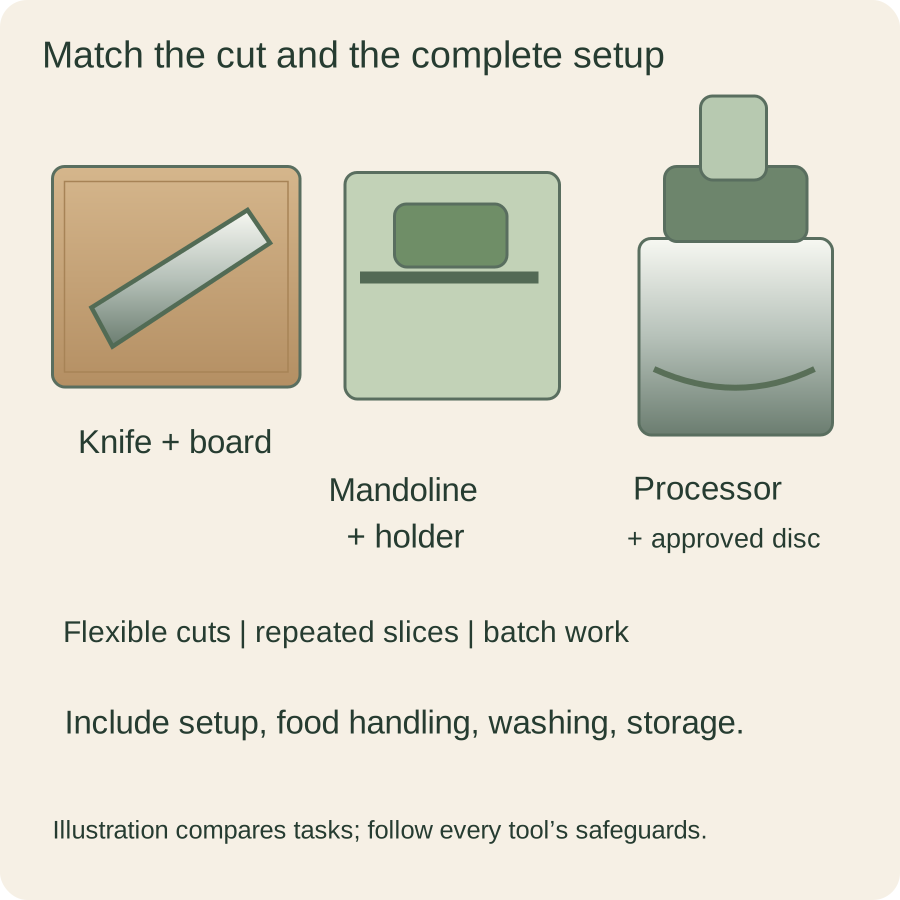
For a small quantity of rough vegetable chunks, compare whether a suitable knife and board give you a comfortable direct route. Do not set up a machine merely because it is available if its supported process adds work you do not need.
For repeated thin slices, check whether the mandoline’s approved holder and receiving setup suit the ingredient. The relevant advantage is the documented cut and repeated arrangement, with the full safety method included.
For a larger supported slicing or grating task, consider the processor’s approved disc and loading sequence. Separate the benefit of handling the batch from any unsupported claim that it will be faster for every person or recipe.
These examples organize the decision without prescribing a universal winner. Your own physical setup, the exact tools, and the recipe can change which route is most useful.
Make the next use easier
After the meal, write down one practical observation about the tool you chose. It might be that the holder worked well for the ingredient, the processor’s bowl was awkward to dry, or the knife gave enough control for a small batch.
Store each tool with the protective parts and accessories its instructions require. Keep a blade guard or food holder with the tool rather than in a separate drawer where it is easy to forget.
If you could not complete a step through the supported method, treat that as a reason to reconsider the tool or seek instruction. It is not a reason to normalize an improvised workaround for next time.
You can then choose by the whole preparation task with a realistic understanding of your options. A well-chosen tool makes the intended cut through a setup you can safely prepare, use, clean, and put away.
Choose the supported stop point
Before starting a repeated cutting task, identify the point at which the instructions tell you to stop or change the ingredient. That may leave a small piece you handle separately through a suitable safe method rather than trying to force it through the same movement.
Include that remainder in your meal plan if it can be prepared appropriately with another tool. A practical choice allows for the full ingredient without treating an unsafe final pass as an unavoidable part of getting your money’s worth.
Sources & research notes
Documentation checked October 22, 2026. Practical examples are original planning exercises; product recommendations compare documented features.