Cookware skills · Practical guide
Why Your Stainless Steel Pan Sticks—and What to Change
In this guide Jump to a section
- Name the problem before you change anything
- Begin with a clean, dry cooking surface
- Use a controlled preheat, not a contest
- Add oil deliberately and prepare the food
- Leave room for the first batch
- Give food a chance to release before turning
- Reset between batches and rescue what you can
- Repeat one change and keep a short note
If your dinner tears when you try to turn it, you do not automatically need a new pan. With uncoated stainless steel, sticking is usually a cue to look at heat, oil, moisture, crowding, and when you move the food.
Start by changing one part of your routine at a time. You will learn more from one carefully watched portion than from turning the burner higher and hoping the next batch behaves differently.
Name the problem before you change anything
Think back to the moment things went wrong: did the food cling as soon as it touched the pan, tear during an early flip, or sit on a layer of burned residue? Those are different problems, even if they all end with scrubbing.
A browned coating on the pan after cooking meat is not automatically a failed meal. All-Clad’s stainless-steel guidance specifically describes using those browned bits to make a sauce by deglazing with stock or wine.
Burned black residue is a different cue, especially if your oil smoked before the food went in. Next time, focus on lowering the heat and watching the pan rather than extending the preheat.
Check that you really have uncoated stainless steel on the cooking surface. A pan with a nonstick coating or a hybrid surface needs its own manufacturer’s instructions, even when its exterior looks like stainless steel.
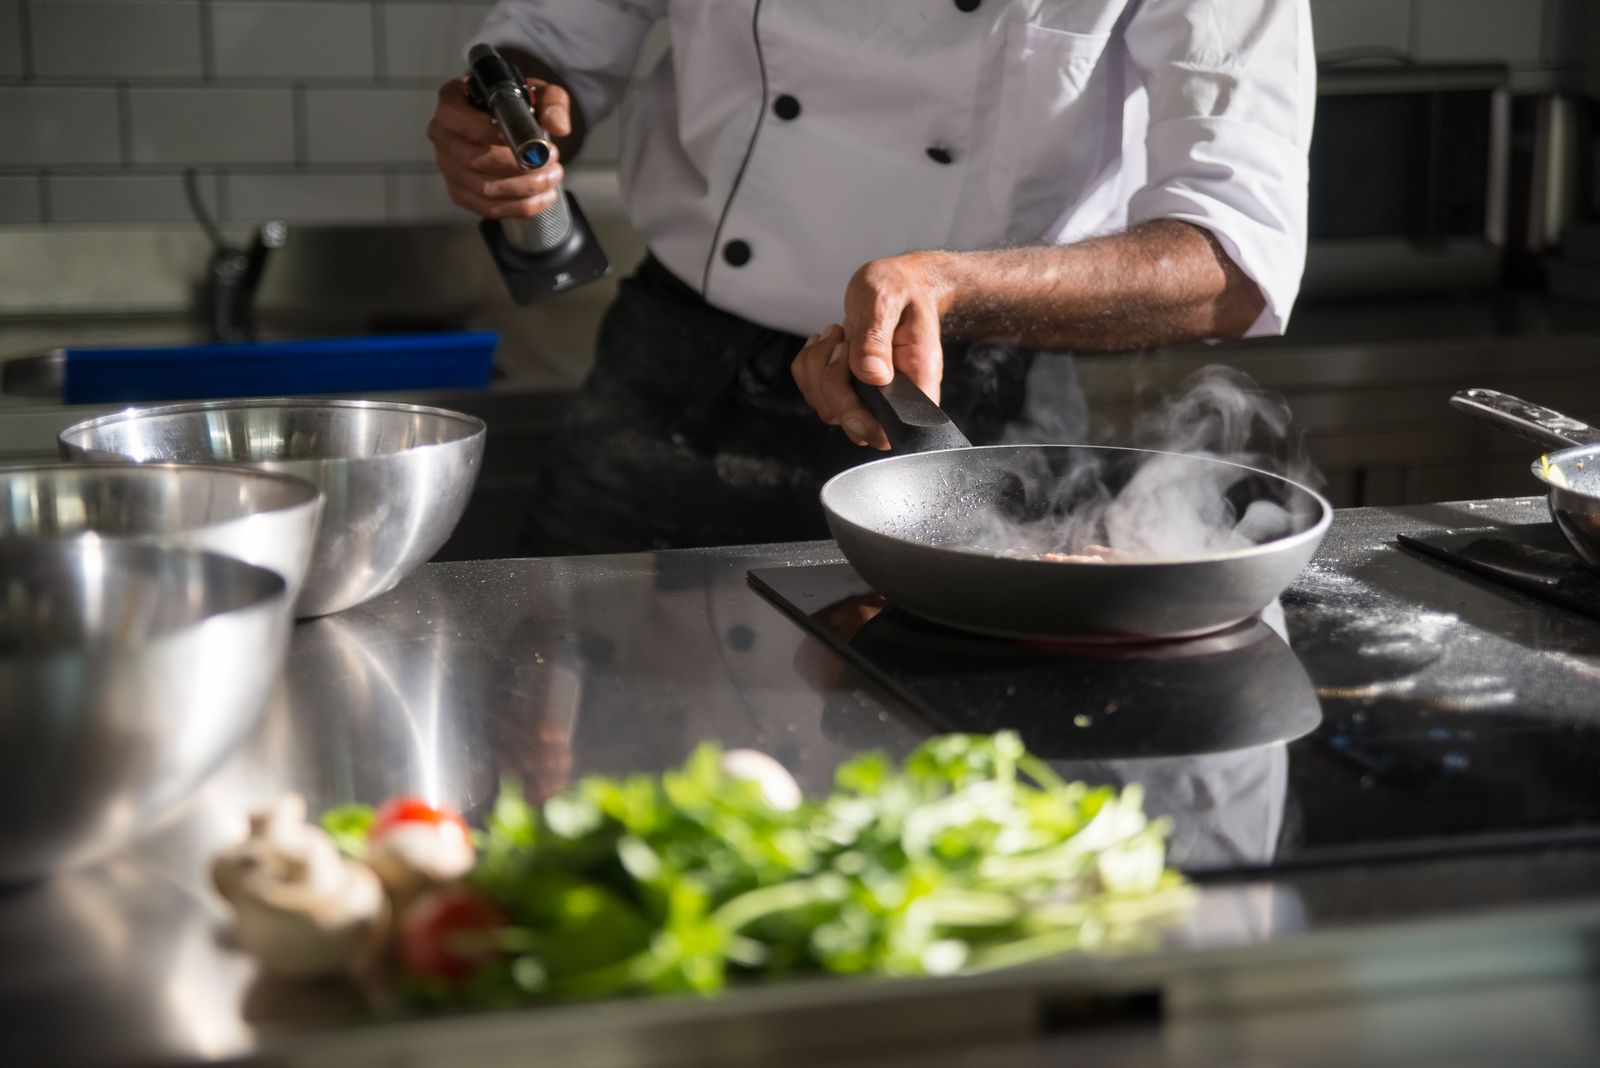
Begin with a clean, dry cooking surface
Inspect the cool pan under good light before you start. A patch of old food or a tacky coating of cooked-on oil is an extra variable you can remove before blaming the metal.
Wash according to the manufacturer’s guidance, rinse, and dry the surface. If ordinary washing leaves residue, use the pan maker’s recommended stainless-steel cleaning method rather than reaching for an abrasive tool at random.
Do not treat every mark as the same kind of dirt. All-Clad distinguishes stuck food, white deposits, and heat discoloration in its care guide, so matching the cleaning method to the mark makes more sense than scrubbing everything harder.
Check the bottom and burner area as well as the inside. You want the pan sitting steadily, with its handle positioned where you can hold it without reaching across another hot burner.
Use a controlled preheat, not a contest
All-Clad recommends preheating its stainless cookware on low to moderate heat. Made In also recommends low to medium stovetop heat for its Stainless Clad pans and warns against prolonged empty heating.
Those instructions give you a useful direction, but they do not make one timer setting correct for every pan and burner. Your pan’s size, construction, and the stove underneath it all affect how the routine feels.
If you have been using high heat because you thought stainless steel required it, begin lower next time. Stay with the pan and get your ingredients and utensil ready before you start heating.
A few drops of water moving across a surface can be a temperature cue in some manufacturer’s instructions. It is not a precision thermometer or a reason to keep heating until every cooking task behaves like a steak sear.
Keep water testing separate from adding oil, and never flick water into a pan containing hot oil. If the pan has become excessively hot, turn off the heat and let it cool safely before restarting your setup.
Add oil deliberately and prepare the food
Once your pan is preheated as directed, add enough cooking fat to cover the area where the food will sit. Tilt the pan carefully so you can see whether there are dry patches in the cooking zone.
You do not need to turn every dinner into deep frying, but a tiny disconnected puddle cannot cover a broad cooking surface. Adjust the amount to your recipe, pan, and food rather than assuming a fixed spoonful suits everything.
Pat suitable ingredients dry when your recipe calls for it, using clean disposable towels for raw meat. Keep raw-food tools and surfaces separate from the cooked-food landing plate, and wash your hands after handling them.
You do not need to leave raw meat on the counter to make this technique work. Keep food safety instructions ahead of advice about bringing proteins to room temperature, and use a food thermometer when checking doneness.
Leave room for the first batch
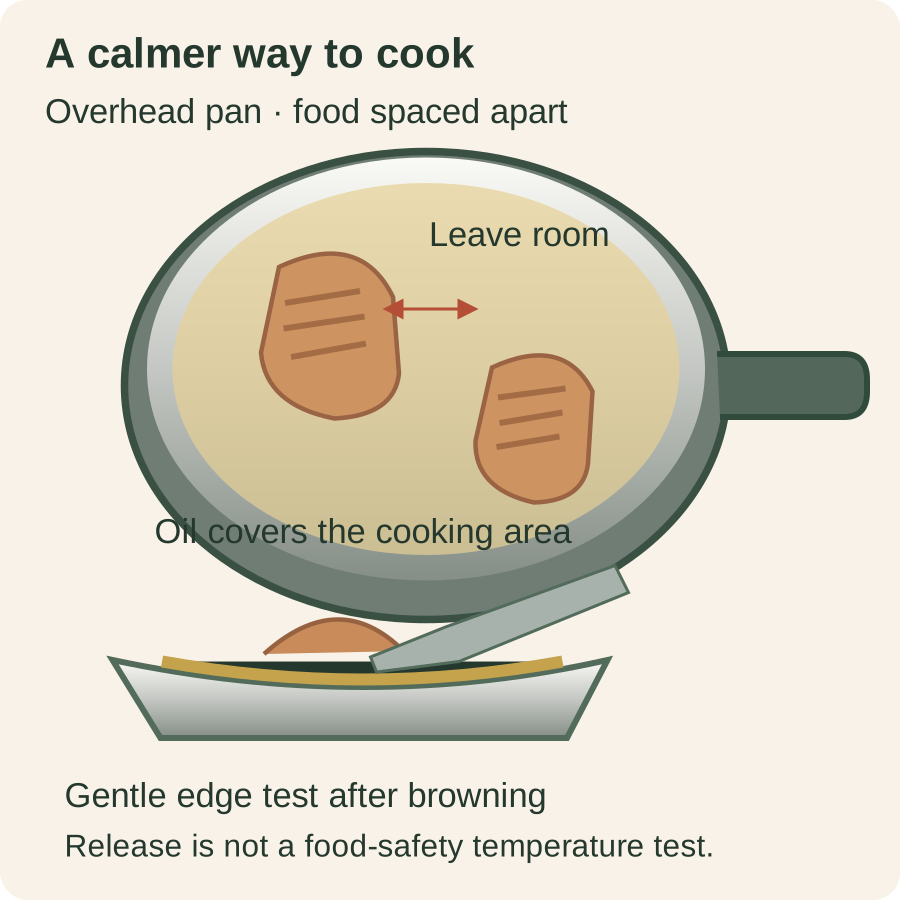
For practice, put fewer pieces in the pan than you normally would. You can watch what happens around one or two portions more clearly than you can watch a crowded pile.
Arrange the pieces so you can reach an edge with your turner without pushing neighboring food aside. If everything overlaps, it is difficult to tell whether your tool is catching the pan or simply catching another piece.
Keep the first portion away from the pan’s sloping side. You want to learn how food behaves on the main cooking surface before juggling different contact angles around its rim.
If your first batch works and the second burns, do not assume the method stopped working. Look at accumulated residue and whether the pan continued getting hotter while you were plating the first batch.
Give food a chance to release before turning
All-Clad tells you to let food cook before turning and notes that stainless-cooked food is ready to turn when it no longer sticks. The practical lesson is to test gently rather than pry harder at the first sign of resistance.
Slide a suitable thin turner under one edge and pause if the food is firmly attached. Give it more cooking time as the recipe allows, then try again without scraping away the crust you wanted to keep.
Use the pan handle to steady the pan while you work. A slipping pan and an aggressive shove are an unhelpful combination when hot oil is involved.
Release is a cooking cue, not proof of safe internal temperature. Check the required doneness separately, particularly with poultry or thick portions whose centers you cannot judge by their browned surfaces.
For a delicate fish fillet or a soft egg, choose your first practice session carefully. You can use the tool that suits that meal while learning stainless technique with a less fragile recipe another time.
Reset between batches and rescue what you can
When a piece tears, first stop pushing it around and assess the heat. If it is otherwise cooking normally, you may be able to finish it and serve it in a different presentation.
If the food is burning, reduce or remove the heat rather than trying to fix the pan with more oil. Do not pour water into hot oil, and follow appropriate kitchen fire guidance if oil ignites.
After you remove the food, consider a recipe-appropriate deglaze for browned fond. Use the amount and method in your recipe and keep your face and hands away from the rising steam.
For cleanup, let the pan cool as directed before washing it. Putting a very hot pan straight under cold water is not a shortcut worth taking; follow the care instructions for your particular cookware.
Repeat one change and keep a short note
Write a simple note after the meal: the pan, burner setting, food, approximate preheat, and when you first tried to turn. Add what you saw and heard instead of a vague verdict such as “stainless never works.”
Next time, keep the same basic recipe and change the most obvious problem. A lower burner, a cleaner surface, or a later flip is easier to evaluate individually than five changes made at once.
If the pan is unstable, badly damaged, or still behaves unpredictably after you follow its instructions, ask its manufacturer about that specific model. Better technique can improve dinner, but it should not require you to ignore damaged equipment or a maker’s warnings.
Sources & research notes
Documentation checked October 22, 2026. Recommendations reflect documented features and original analysis, not measured product testing.
- Moderate preheat, fat, patient release, fond deglaze, cleaning by mark, cooling before wash
- Manufacturer-specific sticking support and checking model guidance
- Stainless Clad low-medium heat; avoid prolonged empty heating; excessive heat burns oil/food
- FDA Clean: wash hands, utensils and cooking surfaces; basic clean handling reminder
- FDA Separate: separate cooked/raw plates and utensils
- FDA Cook: check food safe temperature with thermometer, not surface appearance