In this guide Jump to a section
Weigh ingredients directly into the bowl that will hold them when the recipe’s order allows it. Use tare deliberately, keep the scale within its rated capacity, and give yourself a way to correct an addition before it disappears into the mixture.
Fewer bowls can make baking calmer, but one-bowl measuring should serve the recipe rather than rewrite it. A small separate cup remains useful for an ingredient you may need to remove or measure with a different tool.
Read the recipe before arranging the scale
Identify which ingredients are combined together and which stay separate until a later stage. Mark those groups on the recipe so you do not add a liquid to a dry mixture merely because the same bowl is convenient.
Use the recipe’s written weights when they are available. King Arthur’s recipe success guide recommends weighing and provides grams alongside its volume measures, while also emphasizing the recipe’s specified ingredients and method.
Do not replace every cup with the same number of grams. Volume and mass describe different things, and different ingredients need their own relevant conversion if the recipe does not already give a weight.
Choose one unit system for your working note and keep it visible. A clean list in grams can be easier to follow than repeatedly switching between ounces, cups, and an unrelated conversion table mid-recipe.
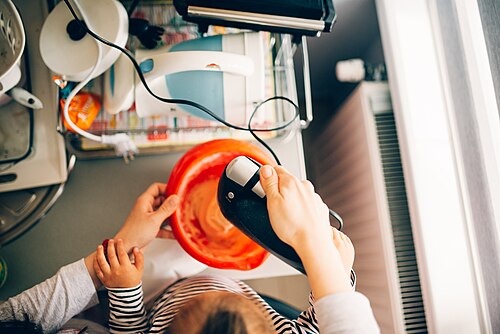

Put the scale on a suitable surface
Follow your scale’s setup instructions and place it on a stable, level surface with room for the bowl. The bowl should sit fully supported and should not rest against the wall or a neighboring appliance.
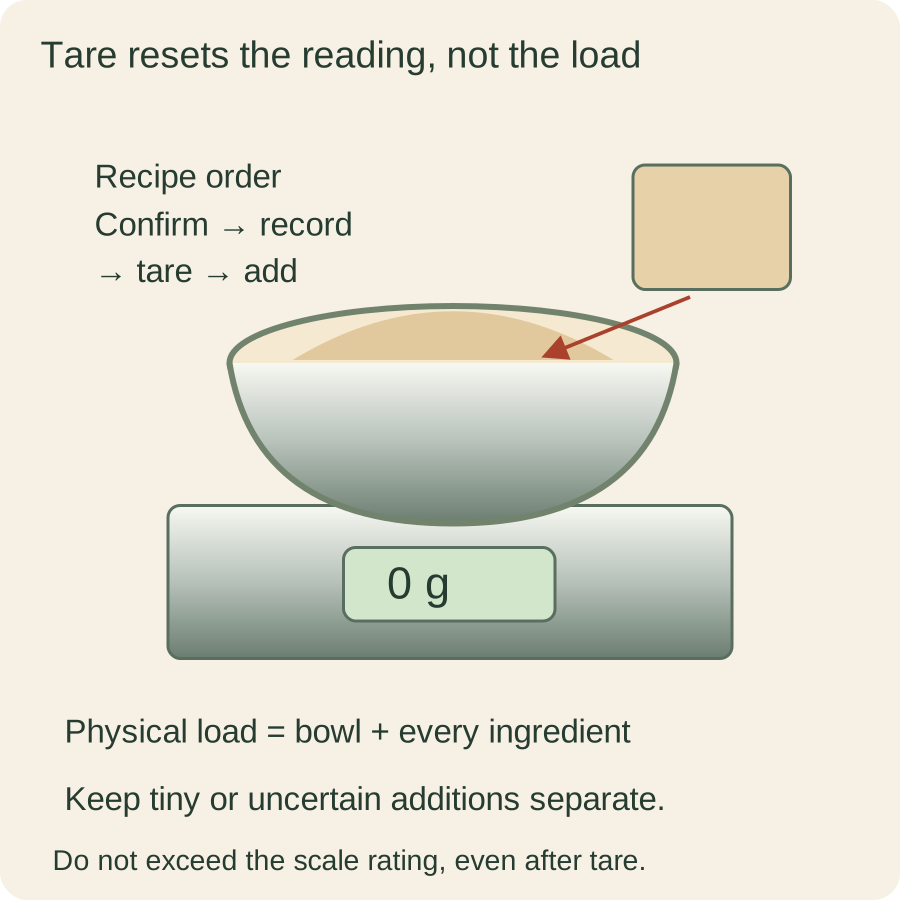
Check the maximum load before adding anything. The bowl, ingredients, and anything else supported by the platform all contribute to the physical load even when the display has been reset to zero.
Choose a bowl that fits without hiding the reading. If the rim blocks the display, solve the visibility problem before pouring rather than leaning awkwardly over the mixture every time you add an ingredient.
Keep the controls accessible with the bowl in place. A tare button you can press comfortably helps you avoid nudging the bowl or brushing the counter while trying to reset the display.
Understand what tare changes
Place the empty bowl on the scale and use tare according to its instructions. The display’s zero gives you a starting point for the next addition; it does not make the bowl’s physical weight disappear.
After weighing the first ingredient, record that step before taring again. Resetting the display removes the visible running total, so you need the recipe or your note to keep track of what is already in the bowl.
Treat each tare as a deliberate transition rather than a reflex. Look at the next ingredient and target amount before resetting, especially when several white powders look alike once they are together.
If the scale turns off or loses its reading, use your written record to decide what you know. Do not reconstruct an uncertain amount by estimating the mixture’s appearance and hoping the next addition balances it.
Pour in two stages
Add most of the target amount at a comfortable pace, then slow down as you approach it. Use a spoon or a container that gives you enough control for the ingredient and the size of the addition.
For a dry ingredient on top of another dry ingredient, leave the new addition visibly separate until you have checked the number when the recipe permits. That can make a small correction more manageable than stirring immediately.
Do not assume you can cleanly remove an excess after it has mixed with other ingredients. A small separate vessel may be the better choice for a large bag, a sticky ingredient, or a pour you find difficult to control.
If you overshoot, stop and assess the actual situation before adding something else. Changing every other ingredient to match an accident is a recipe-scaling decision, not an automatic function of the tare button.
Keep tiny additions separate when necessary
Check the scale’s resolution and the manufacturer’s intended use before relying on it for a very small amount. A display with whole-gram steps may not give you the control your particular recipe needs for a tiny addition.
Use the recipe’s appropriate measuring method or a suitable more precise tool when needed. One extra small cup is worthwhile if it prevents an uncertain dose from going directly into the main mixture.
Avoid treating the last displayed digit as a guarantee of accuracy under every load. Read the scale’s actual specifications and keep the measurement within its supported conditions.
For a familiar recipe, write down which ingredients you weigh directly and which you measure separately. That creates a repeatable workflow without pretending that every ingredient belongs on the same scale.
Protect the scale while using it
Keep spills, hot cookware, and washing water away from the scale unless its instructions explicitly permit the relevant exposure. A kitchen tool being wipeable does not mean the whole device is washable under a faucet.
Do not press hard into the bowl with a spoon while it rests on the platform. Do the mixing or scraping on a suitable work surface when the measurement is finished, following the scale’s load and handling limits.
Keep the ingredient bag from touching the bowl or the platform during a reading. Support from another object can make the measurement different from the free-standing load you intended to weigh.
Give the display time to respond as the instructions describe. When you are close to a target, a hurried extra pour can be harder to correct than a brief pause and a controlled final addition.
Use a simple example without changing the recipe
Imagine a recipe that calls for a dry mixture to be assembled in one bowl, with a separate liquid mixture added later. You can tare the dry bowl between its permitted additions while keeping the liquid mixture in the vessel the method requires.
Write each target beside its ingredient and check it off immediately after the reading is confirmed. The useful saving is several temporary dry-measuring bowls, not the removal of every vessel from the recipe.
If an egg needs to be checked or an extract is difficult to pour, use a small separate cup and add it at the correct step. Your workflow can be efficient while still leaving room for a sensible exception.
This example describes an order of work, not a new formula or a promise about the recipe’s outcome. Follow the actual quantities and mixing instructions of the bake you are making.
Reset the station for next time
After the bowl leaves the scale, clean and store the device as its manual directs. Save the recipe note showing which additions worked directly and where a separate cup helped.
If you repeatedly spill from a large bag, change the pouring tool or transfer a manageable amount to an appropriate dry container. Do not blame the scale for a handling problem it cannot solve.
If you often lose your place, improve the check-off note before adding more equipment. A clear sequence beside the display can do more for a relaxed baking session than another bowl that you still have to remember to use.
The right goal is fewer unnecessary transfers with the same clarity about every ingredient. Tare helps you get there when you use it as a visible, recorded step in the recipe rather than a way to stop paying attention.
Keep a recovery note
If you need to interrupt measuring, write the last confirmed ingredient and amount before leaving the station. Keep the bowl in a suitable place and follow the recipe and food-handling requirements for anything already added.
When you return, use that note to decide which step is actually next instead of trusting the display alone. Tare can make a mixed bowl look like a fresh start, so the written sequence remains part of the measurement even when you have saved several dishes.
Sources & research notes
Documentation checked October 22, 2026. Practical examples are original planning exercises; product recommendations compare documented features.