Kitchen fit · Practical guide
How to Measure Your Kitchen Before Buying a Countertop Appliance
In this guide Jump to a section
- Start with the job, then choose the spot
- Measure three directions, including the awkward bits
- Make a storage footprint and a working footprint
- Check every opening and removable part
- Plan the cord, water, and hot-item landing zone
- Check storage as carefully as countertop use
- Take one buying note into every comparison
You can love an appliance in a store and hate where it lands at home. Before you compare presets or colors, measure the space it needs while you actually use it, including the open lid, pulled-out drawer, cord, and the clearances in its manual.
A listed width and depth tell you about the machine itself. They rarely tell you whether you can pour water into it under a cabinet or put down a hot basket without crossing your kitchen.
Start with the job, then choose the spot
Write down the thing you want the appliance to do on an ordinary weekday. “Make toast while I pack lunch” points to a different location from “run an ice maker for a weekend gathering.”
Now stand where you would use it and mime the entire job with the machine absent. Reach for ingredients, open the imaginary door, pick up the imagined bowl, and notice where your hands want to go.
You are looking for a usable route between preparation, cooking, and cleanup. A space that looks empty in a photograph may already be your only place to drain dishes or chop vegetables.
Choose a candidate position and a second-choice position before you shop. This small exercise keeps an attractive countertop corner from becoming an assumption that every appliance must somehow fit.
Measure three directions, including the awkward bits
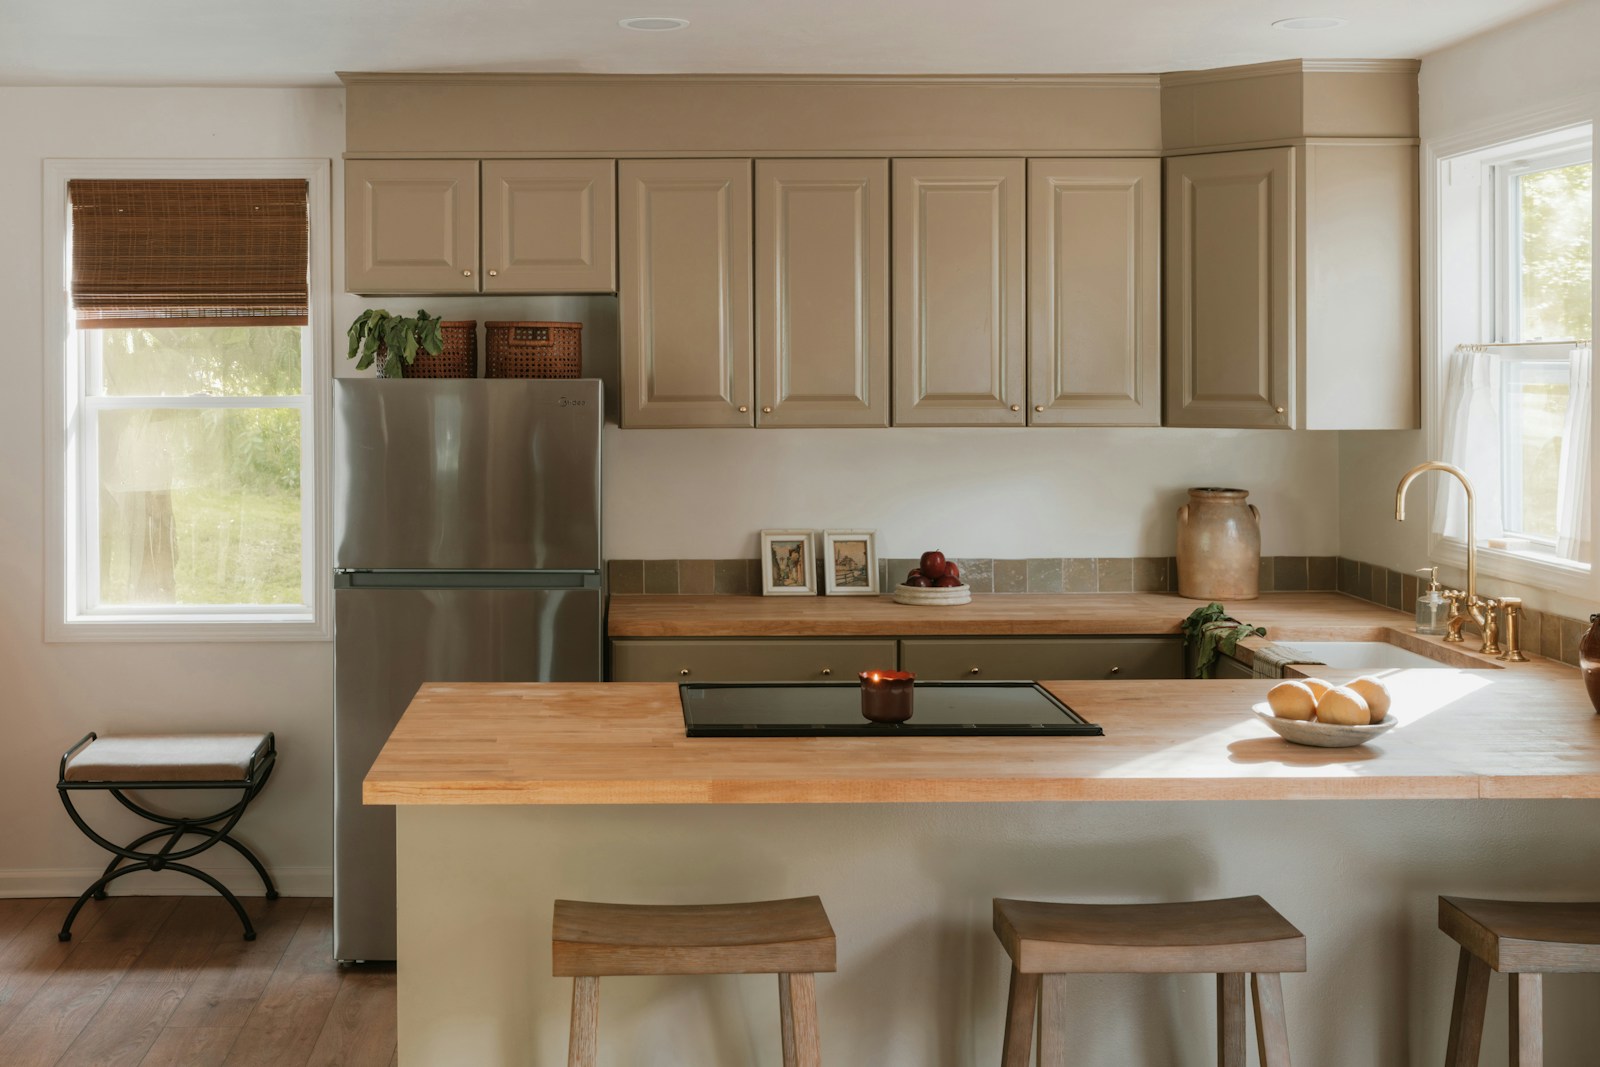
Measure the usable width between the real obstructions, rather than between two convenient wall marks. Include a knife block, cabinet side, backsplash trim, and anything you plan to leave in place.
For depth, start at the furthest protrusion at the back and measure to the supported counter edge. A plug sticking out of an outlet can reduce that space before the appliance even arrives.
Measure height from the counter to the lowest obstruction above it. That might be an under-cabinet light or a lip at the front of a cabinet rather than the cabinet’s main underside.
Record everything in inches for your US product comparison, then keep the original units next to any manufacturer figure given in centimeters. Label width, depth, and height explicitly so a rotated product drawing does not fool you later.
Take a photograph with the tape visible and sketch a simple rectangle on paper. Add notes such as “outlet on right” or “cabinet light projects below shelf” while the detail is fresh.
Make a storage footprint and a working footprint
Cut a sheet of paper to the candidate appliance’s stated footprint, or mark it with removable painter’s tape. Use a box of the stated height to make the missing volume easier to see.
This mock-up answers whether the closed appliance fits, but you still need a second outline for use. Read the exact model’s manual for ventilation and placement requirements before drawing that outline.
Do not borrow an air fryer’s clearance from a similar-looking model or use a single internet rule for every appliance. A model’s hot-air outlet, steam path, door motion, and approved surface can change the answer.
For example, the manufacturer-issued Chefman RJ38-4T-series guide calls for a hard, flat surface and at least six inches of clearance at the top and back. That instruction is an example of a model-specific requirement, not a default clearance for your whole kitchen.
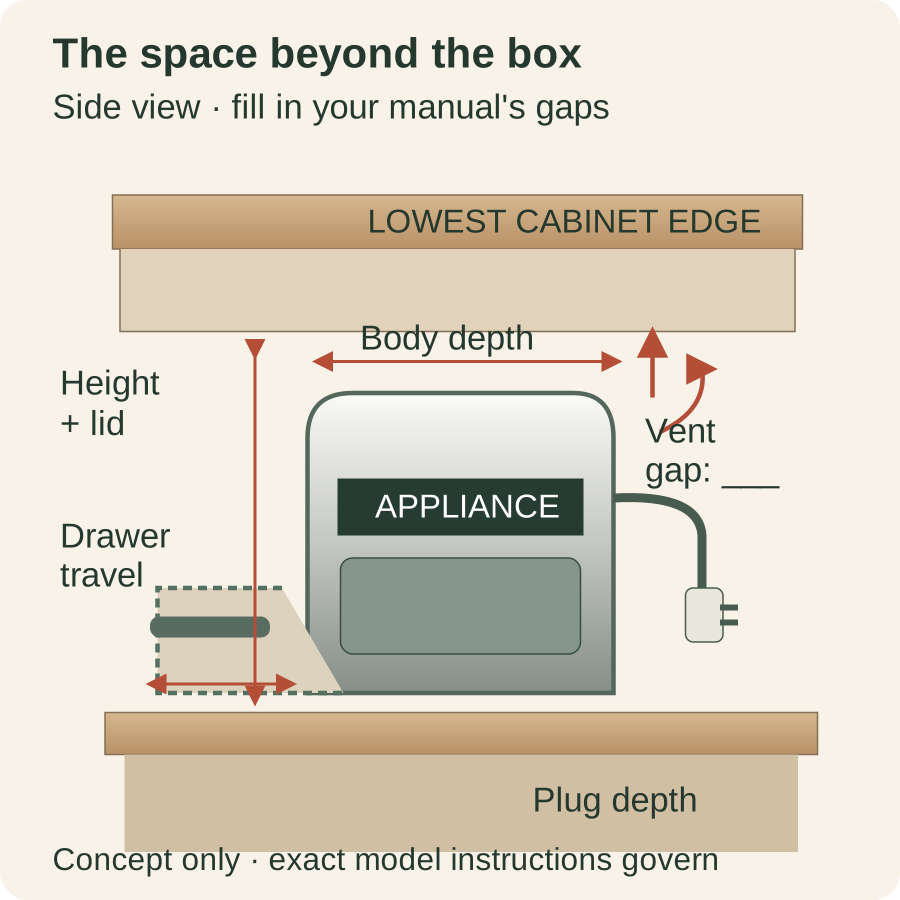
Keep paper scraps in place for one meal preparation. If you repeatedly move the pretend machine to make room for your cutting board, that is useful evidence before you spend anything.
Check every opening and removable part
A coffee maker can fit under a cabinet and still be annoying if its reservoir fills from above. Find out whether you lift a lid, remove a tank, or slide the entire machine forward.
An air fryer needs room for the basket to travel and for your hand on its handle. Mark that travel in front of the machine, then check whether a person standing there blocks a drawer or walkway.
A toaster oven’s door may occupy counter space while you remove the tray. Pretend you are holding that tray with both hands and decide where it will land before you call the layout workable.
For a mixer, check head tilt or bowl removal in addition to the closed height. Measure any shelf you expect to store its attachments on, because a convenient machine with inconvenient parts soon becomes clutter.
Look for official dimension drawings and manual illustrations, and ask the manufacturer about any missing open measurement. A product photo can show the direction of travel without proving the number of inches you need.
Plan the cord, water, and hot-item landing zone
Trace the cord’s route on your sketch without stretching it across a sink, cooktop, or place where someone walks. Check the manufacturer’s electrical and extension-cord instructions rather than treating a nearby power strip as the solution.
If reaching an appropriate outlet requires electrical work, resolve that before buying the appliance. Your countertop sketch is a shopping tool, not permission to modify a circuit or defeat a plug.
For a water-using appliance, think about the weight and awkwardness of its removable reservoir when full. Try carrying a similarly sized container from the sink to the proposed spot and back.
Give a hot basket, lid, or baking tray a deliberate landing area that meets its instructions. A strip of counter occupied by mail or a dish towel is not dependable space just because you can clear it once.
Keep that landing area outside the movement of a nearby cabinet door. You should not need another person to hold the kitchen still while you set something down.
Check storage as carefully as countertop use
If the machine will live in a cupboard, measure the opening and the space inside separately. Hinges and door frames can narrow an opening even when the shelf itself is wide enough.
Check the shelf depth with the door closed, and leave room for the cord without trapping it. Then consider whether you can lift the appliance out comfortably from that height.
Write down which parts must be cooled, cleaned, or dried before storage according to the manual. If you plan to put everything away immediately after breakfast, that routine may need a rethink.
Keep frequently used accessories near their machine when possible. You are more likely to use a compact food processor if finding its lid and blade does not require unpacking three unrelated shelves.
Try a second rehearsal with someone else doing their normal kitchen task beside you. Open the dishwasher, reach for a mug, and walk past the taped footprint with a plate in your hands.
If one appliance forces everyone to squeeze around an open basket, record that conflict alongside its measurements. You can compare a different orientation or location before concluding that your whole kitchen needs rearranging.
Take one buying note into every comparison
Create a short note with four headings: closed size, working space, opening motion, and storage route. Add the exact model number beside each candidate rather than relying on the product family’s name.
Under working space, copy the manual’s placement requirement and its page number or section. Under opening motion, list every action you could not verify, such as a lid’s fully raised height.
Keep package dimensions out of the appliance-size column. Retail listings sometimes show shipping measurements prominently, which tells you about the box arriving at your door rather than the machine on your counter.
Finish by comparing the appliance against a real meal routine, not an empty kitchen at midnight. If the layout works only when you relocate your everyday essentials, choose another spot, a smaller machine, or a simpler way to do the job.
You do not need a professionally drafted kitchen plan to make a better purchase. A tape measure, a paper footprint, the correct manual, and an honest rehearsal give you a much clearer answer than a product photograph alone.
Sources & research notes
Documentation checked October 22, 2026. Recommendations reflect documented features and original analysis, not measured product testing.