Everyday Appliances · Practical guide
Air Fryer Basket vs. Oven Style: What Changes in Daily Use?
In this guide Jump to a section
Choose between a basket air fryer and an oven-style air fryer by comparing how you load food, handle it during cooking, and clean the machine afterward. The shared air-fry label does not make their everyday routines identical.
A basket can suit a compact, repeated job, while an oven-style layout can offer a different tray arrangement and range of supported tasks. The useful choice depends on your meals and the exact models, not on a general promise that one shape always cooks better.
Compare one real dinner first
Pick a meal you expect to cook regularly and write down which parts belong in the appliance. Keep the amount and shape of the food specific enough that you can compare the usable basket or tray space.
Do not start with the maximum advertised serving count. Two pieces of fish and a portion of vegetables make different demands from a batch of small frozen snacks, even if a product description calls both dinner for two.
Check the instructions for arrangement, supported accessories, and turning or shaking. Your comparison should reflect how the manufacturer tells you to use the cooking space rather than how tightly you can fill it.
If you want several foods to finish together, include that goal in the comparison. A larger-looking cavity does not automatically provide independent cooking conditions for every ingredient you want to put inside it.

Understand the loading motion
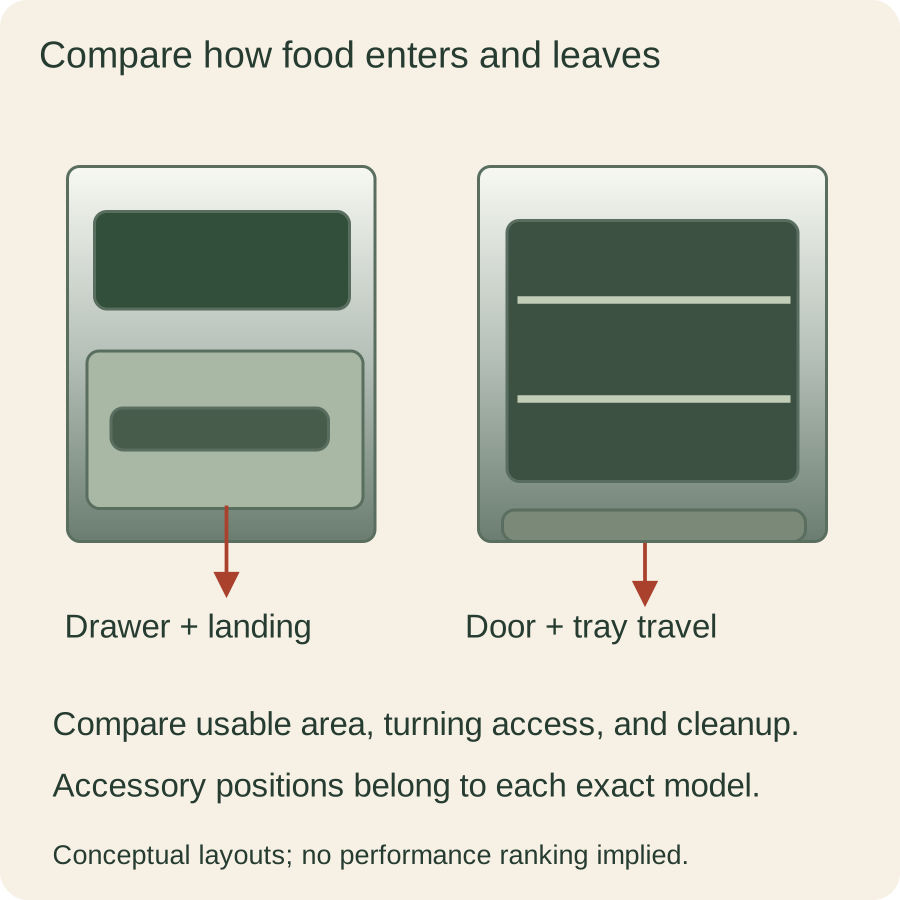
With a basket model, consider the drawer’s full travel and the place it will rest when you remove it. You need room for the handle, your hands, and the supported landing surface, not just the machine’s closed dimensions.
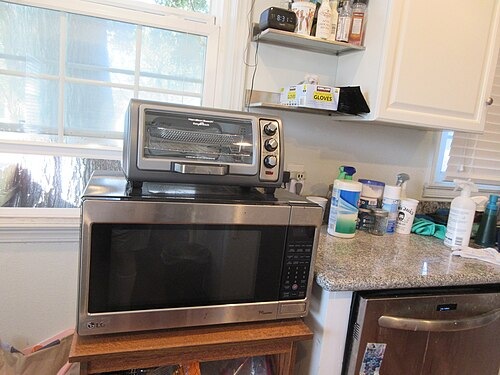
With an oven-style model, consider the door’s movement and the path of a tray or rack. Depending on the design, you may need space in front of the machine while the door is open and both hands are occupied.
Rehearse the motion with a cool empty tray or a paper outline before buying. A comfortable-looking handle in a product photo may still be inconvenient in the narrow corner you intend to use.
Keep cabinet doors and neighboring appliances in the rehearsal. The awkward moment often happens when the air fryer is open at the same time as something else you normally reach for.
Read the cooking space instead of the headline volume
Compare the floor of a basket with the usable area of a rack or air-fry tray. Look for manufacturer dimensions and approved arrangements rather than treating liters or quarts as a direct measure of how your food will lie.
The Ninja AF101 guide describes a crisper plate that raises ingredients so air can circulate beneath them. Its tips also address even arrangement and checking food during cooking, making the actual loading method part of the capacity question.
The Hamilton Beach 31196F guide describes several rack positions, an air-fry basket, and a baking pan used beneath it for drips. That is a different physical arrangement to plan and clean, not a reason to transfer its instructions to another oven-style appliance.
Keep model-specific rack and accessory rules with the model they belong to. Owning an extra rack does not establish that you can add another full layer for every cooking mode.
For a practical fit check, cut paper to the documented usable dimensions and arrange food-shaped outlines on it. You are checking geometry, not predicting crispness or certifying a cooking time.
Compare what you do halfway through
Think about any shaking, stirring, rotating, or flipping the recipe and manual require. Consider whether you find that action comfortable with a drawer basket or prefer a tray you can approach with a suitable utensil.
Do not assume opening a door and pulling out a drawer are interchangeable habits. Read the instructions for pausing, restarting, and handling hot components on each candidate.
If you regularly cook delicate pieces, picture how you would turn them without crowding the food or reaching awkwardly around the machine. The question is about access and your routine, not an untested claim that one style is gentler.
Check where you will put the hot component during that step. A machine can fit the counter and still be a poor match if the only available landing area is occupied whenever dinner is underway.
Count the cleaning pieces
Read the cleaning section before you compare how easy either style looks to wipe. Identify which basket, plate, tray, rack, crumb collector, or other component you need to remove for the jobs you intend to cook.
Check dishwasher permission for each piece rather than for the appliance as a whole. A removable item being washable does not make the electrical body suitable for immersion or a dishwasher.
Measure the largest removable component against your sink and drying space. You may find that a compact machine’s basket is easy to handle, or that a flatter tray fits your routine better.
Look at access to food residue around the door or cooking cavity as well. Follow the actual maintenance procedure instead of judging the whole cleanup job from a close-up of a removable basket.
Include cleanup after the foods you really make. An occasional lightly toasted item and a frequently cooked juicy meal can leave you with different practical reasons to prefer one arrangement.
Compare other supported jobs honestly
If you want toast, reheating, baking, or another function, confirm that the exact model supports it and read the relevant instructions. Do not assume every oven-style product replaces your toaster or that every basket model performs all the same tasks.
Make a short list of the appliances you hope to replace and the specific jobs each one currently does. Then look for the candidate’s actual permitted methods, vessel sizes, and operating steps for those jobs.
Keep the comparison realistic about simultaneous use. One machine performing two jobs at different times is not the same as two separate machines doing those jobs together during a busy breakfast.
You may decide that a dedicated air fryer complements the equipment you already like. You may also prefer a documented multipurpose model if the extra functions match your regular meals and available space.
Use a side-by-side routine note
For each candidate, record the loading motion, usable food arrangement, midpoint handling, cleanup pieces, and permanent working space. Add the model-specific clearance requirements rather than a generic clearance copied from another appliance.
Leave unanswered details visibly unresolved, such as an open-door measurement or a tray size the maker has not published. Asking a precise question before ordering is more useful than assuming a product photograph supplies the measurement.
Compare your most common meal against both notes and identify the awkward step in each routine. That gives you a practical tradeoff to choose between instead of a vague competition over which style is best.
If neither model suits your layout or supported cooking needs, keep looking or use the equipment you already own. The right air fryer is one you can load, operate, and clean comfortably within its instructions.
Plan the transition from your current setup
Before replacing an appliance, list where its accessories will go and which familiar cooking steps you will need to learn again. A new layout can be convenient without using the same rack positions, loading amounts, or timing as your old machine.
Start with one supported meal that you can observe comfortably, using the manufacturer’s operating instructions and a suitable recipe. Avoid changing several foods, accessories, and settings at once, because that makes a disappointing result harder to interpret.
Keep a short note about the handling step that actually bothered you: the drawer’s weight, a tray’s reach, or the cleanup space. Those observations help you decide whether your chosen style suits your kitchen while leaving claims about cooking performance grounded in what you have truly done.
Sources & research notes
Documentation checked October 22, 2026. Practical examples are original planning exercises; product recommendations compare documented features.